Thương hiệu |
---|
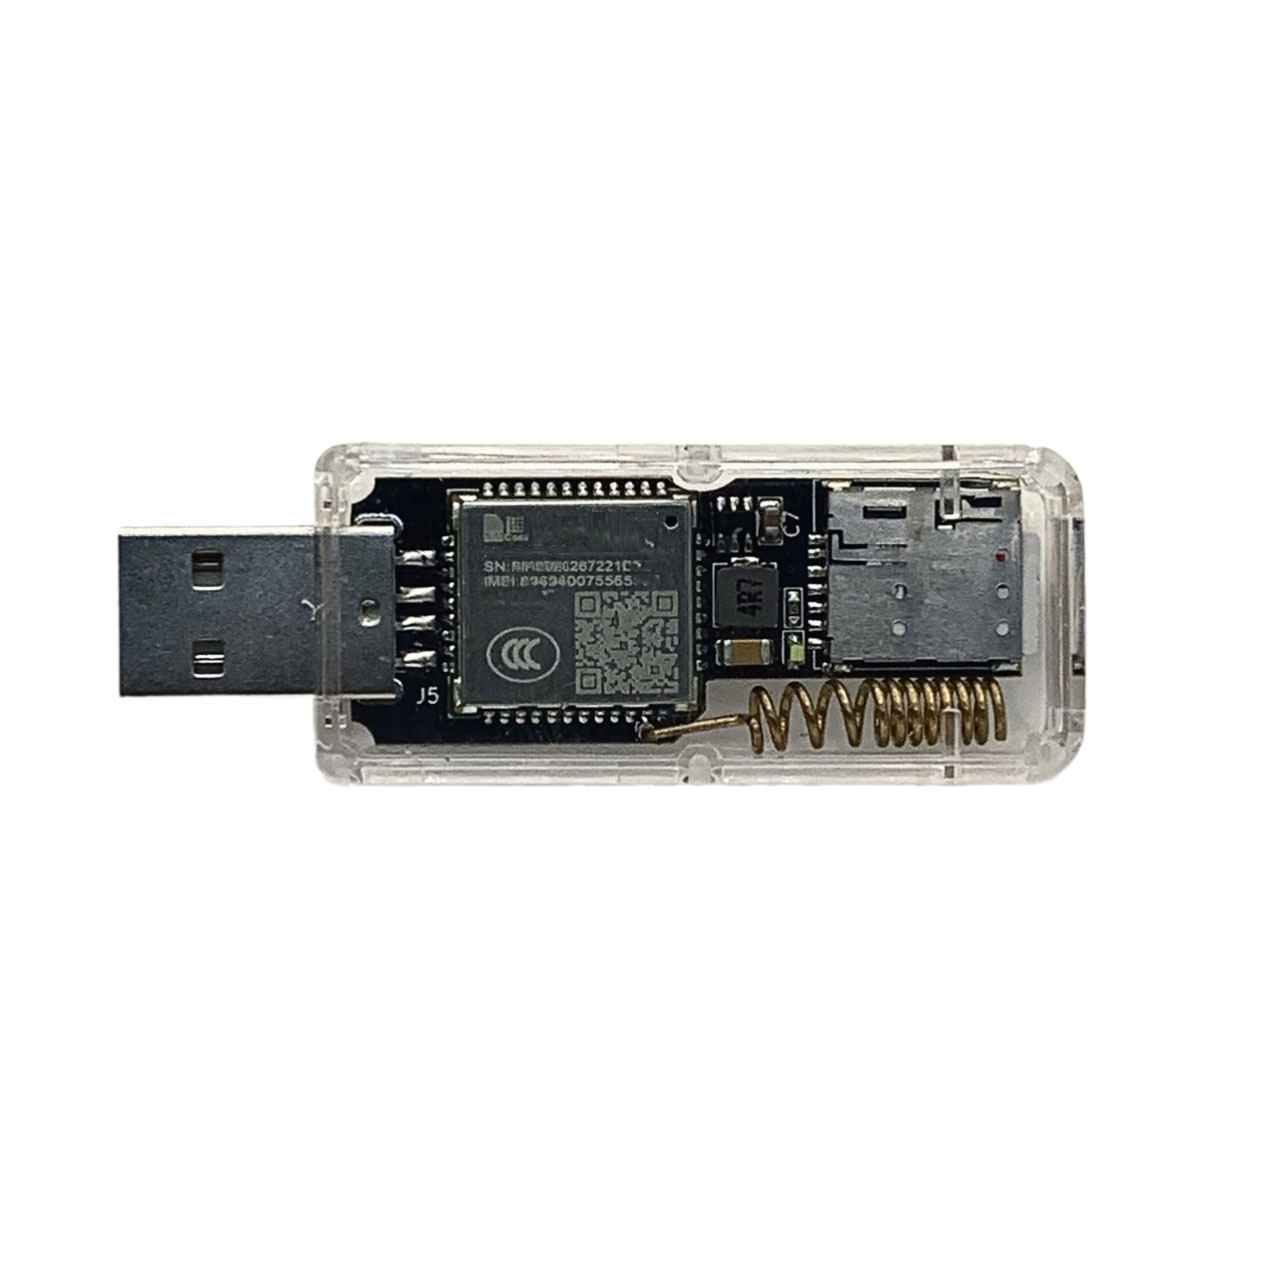
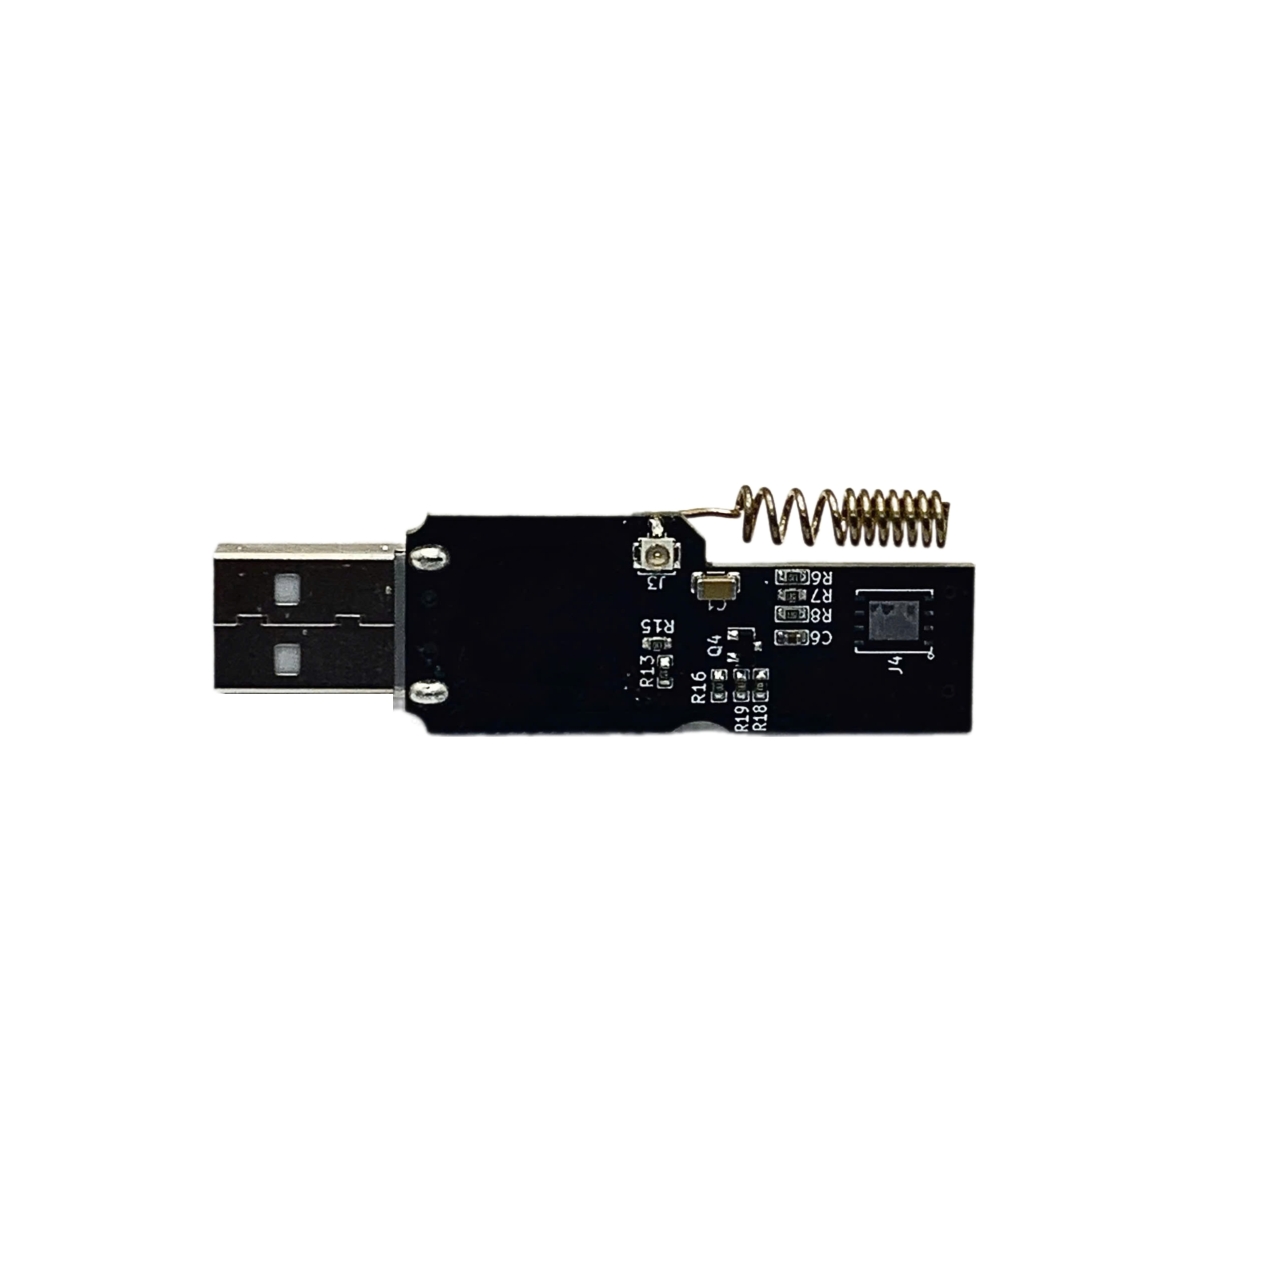
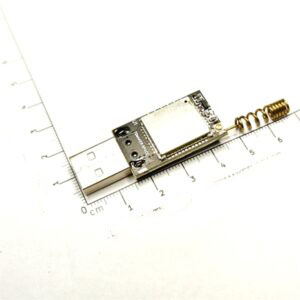
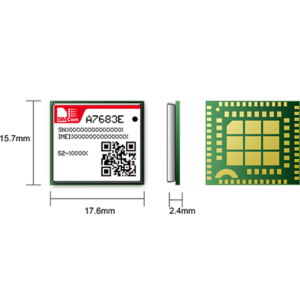
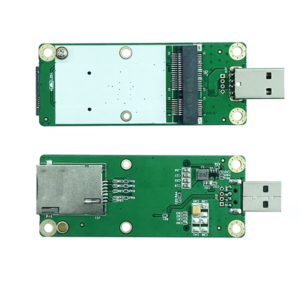
USB DONGLE 4G SIMCOM LTE CAT 1 V2 giải pháp kết nối internet tốc độ 10M dành cho các cá nhân thay thế cho USB Dongle truyền thống với chi phí cao, tốc độ đảm bảo phục vụ cho các tác vụ lướt web và truy cập internet
Lưu ý: đây là phiên bản chỉ có data 4G dùng để truy cập giao tiếp internet, không có chức năng gọi.
Phiên bản V2 là nâng cấp của USB DONGLE 4G V1
Với cải tiến về kiểu dáng, vỏ hộp.. mang lại sự tiện dụng cho người sử dụng
-Thông số kĩ thuật:
+ Nguồn cấp: USB-A 5V1A ( cổng USB A máy tính)
+ Băng tần: LTE-CAT 1
LTE-TDD: B34/B38/B39/B40/B41
LTE-FDD: B1/B3/B5/B8
Tốc độ download: 10Mbps (thoải mái xem youtube, truy cập web…vv)
Tốc độ upload: 5Mbps
Link tải file cài đặt Driver USB cho windows nếu máy tính không tự cập nhật: GitHub – TDLOGY/SIMCOM_USB_DRIVER: This repo is USB Driver of A7670, A7672, A7600C, SIM7600
Download file A7600X-Windows-Driver.7z và cài vào máy tính windows.
Hướng dẫn cài đặt:
Hướng dẫn cài đặt driver module SIM 4G cho Linux/Windows
Windows (Win10/Win11)
A7670/A7672/A7600C-L1
- Please use A7600X-Windows-Driver.7z to install USB Driver
- The driver will contain atleast 2 port UART and RNDIS Driver (Internet):
- AT Command Port
- Diagnostic Port
- NMEA Port – GPS (Optinal)
SIM7600
- Please use SIM7600_Windows10_Driver.zip to install USB Driver
- The driver will contain atleast 3 port UART and RNDIS Driver (Internet):
- AT Command Port
- Diagnostic Port
- NMEA Port – GPS
Linux (Ubuntu/Debian/…)
-
The driver have already install with driver: ECM/EEM/RNDIS/NDIS/QMI
-
To bring up the internet on linux:
-
Command to check usb interface:
ip a
And check the usb0 interface
- Acquire IP (DHCP) – Optinal if IP is not auto detected:
sudo dhclient -v usb0
- Acquire DNS – Optional
sudo route add -net 0.0.0.0 usb0
Sau khi cài driver và set up như trên chúng ta sẽ dùng phần mềm AT command Test của chúng tôi để cài đặt chế độ internet cũng như test các chức năng khác. Download tại đây
Nếu chưa tự động nhận internet, hãy gửi 2 lệnh sau bằng AT command
AT+DIALMODE=0
AT$MYCONFIG=”usbnetmode”,0
Xem thêm:
– Hướng dẫn sử dụng phần mềm AT Command Test